들어가기
Firebase를 생성하면 기본적인 Security Rule이 생성되어 있다. Firebase를 사용하기 위해서는 Security Rule에 대한 어느정도 이해가 필요하니, 이번 포스팅을 통해 간략히 정리해 보았다.
1. 모든 권한 거부 및 허용
1
2
3
4
5
6
7
8
9
rules_version = '2';
service cloud.firestore {
  match /databases/{database}/documents {
    match /todos/{todoId} {
      allow read, write: if false; // 모든 권한 거부
      allow read, write: if true; // 모든 권한 허용
    }
  }
}
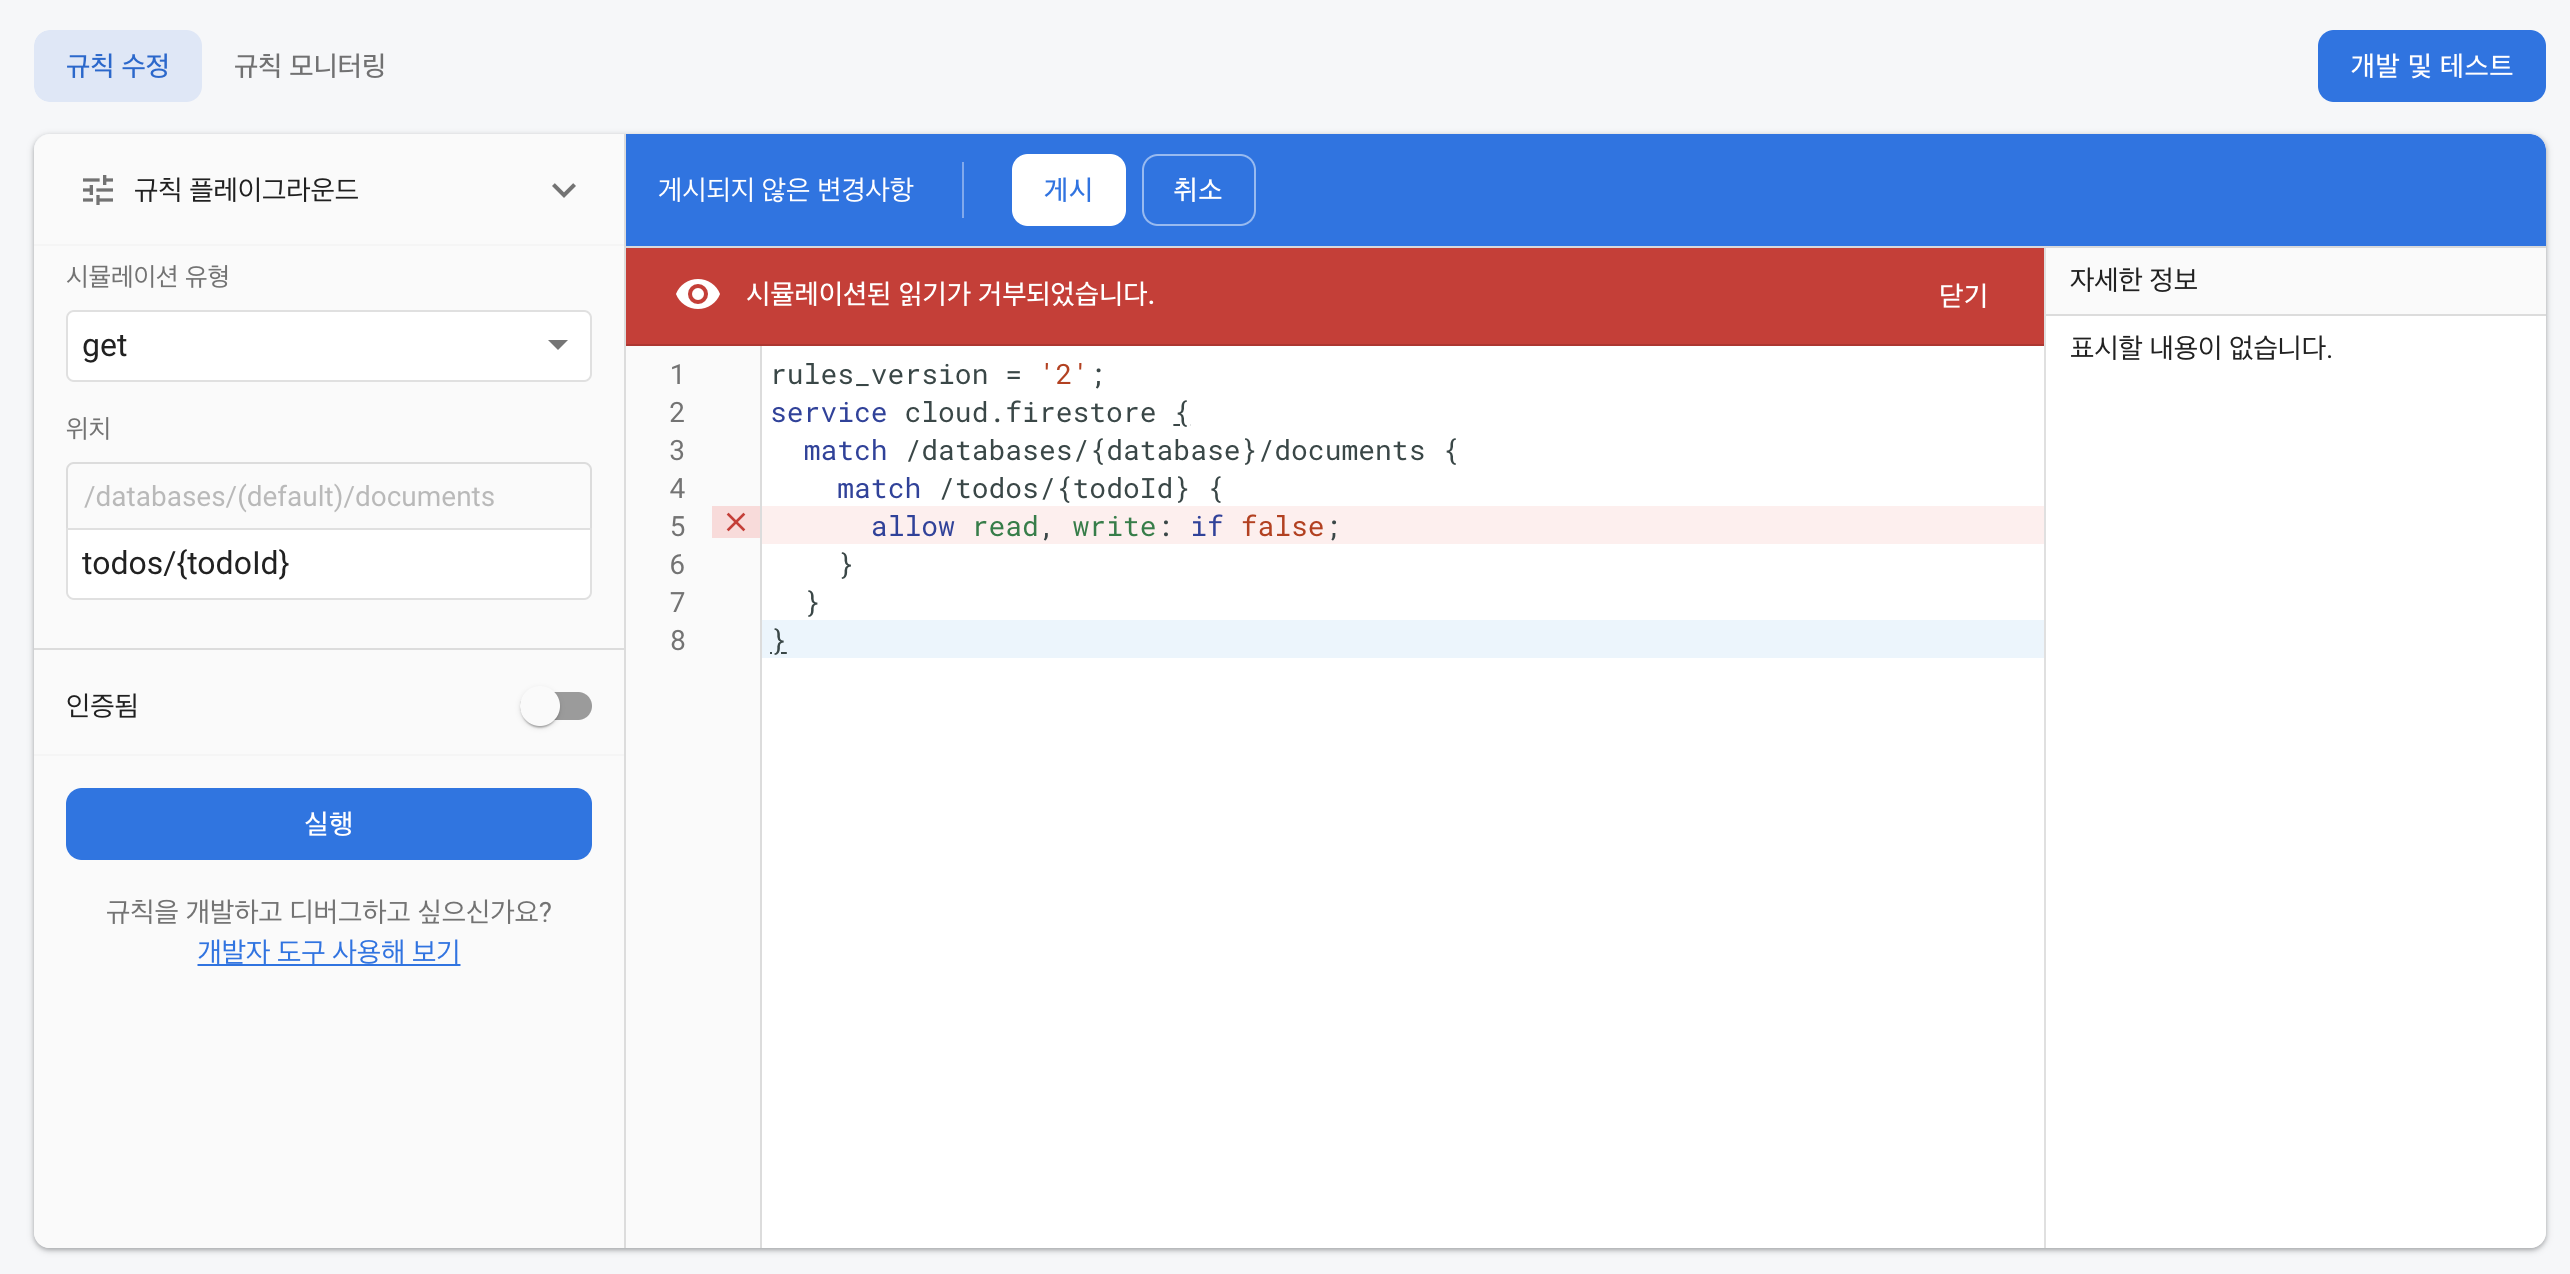
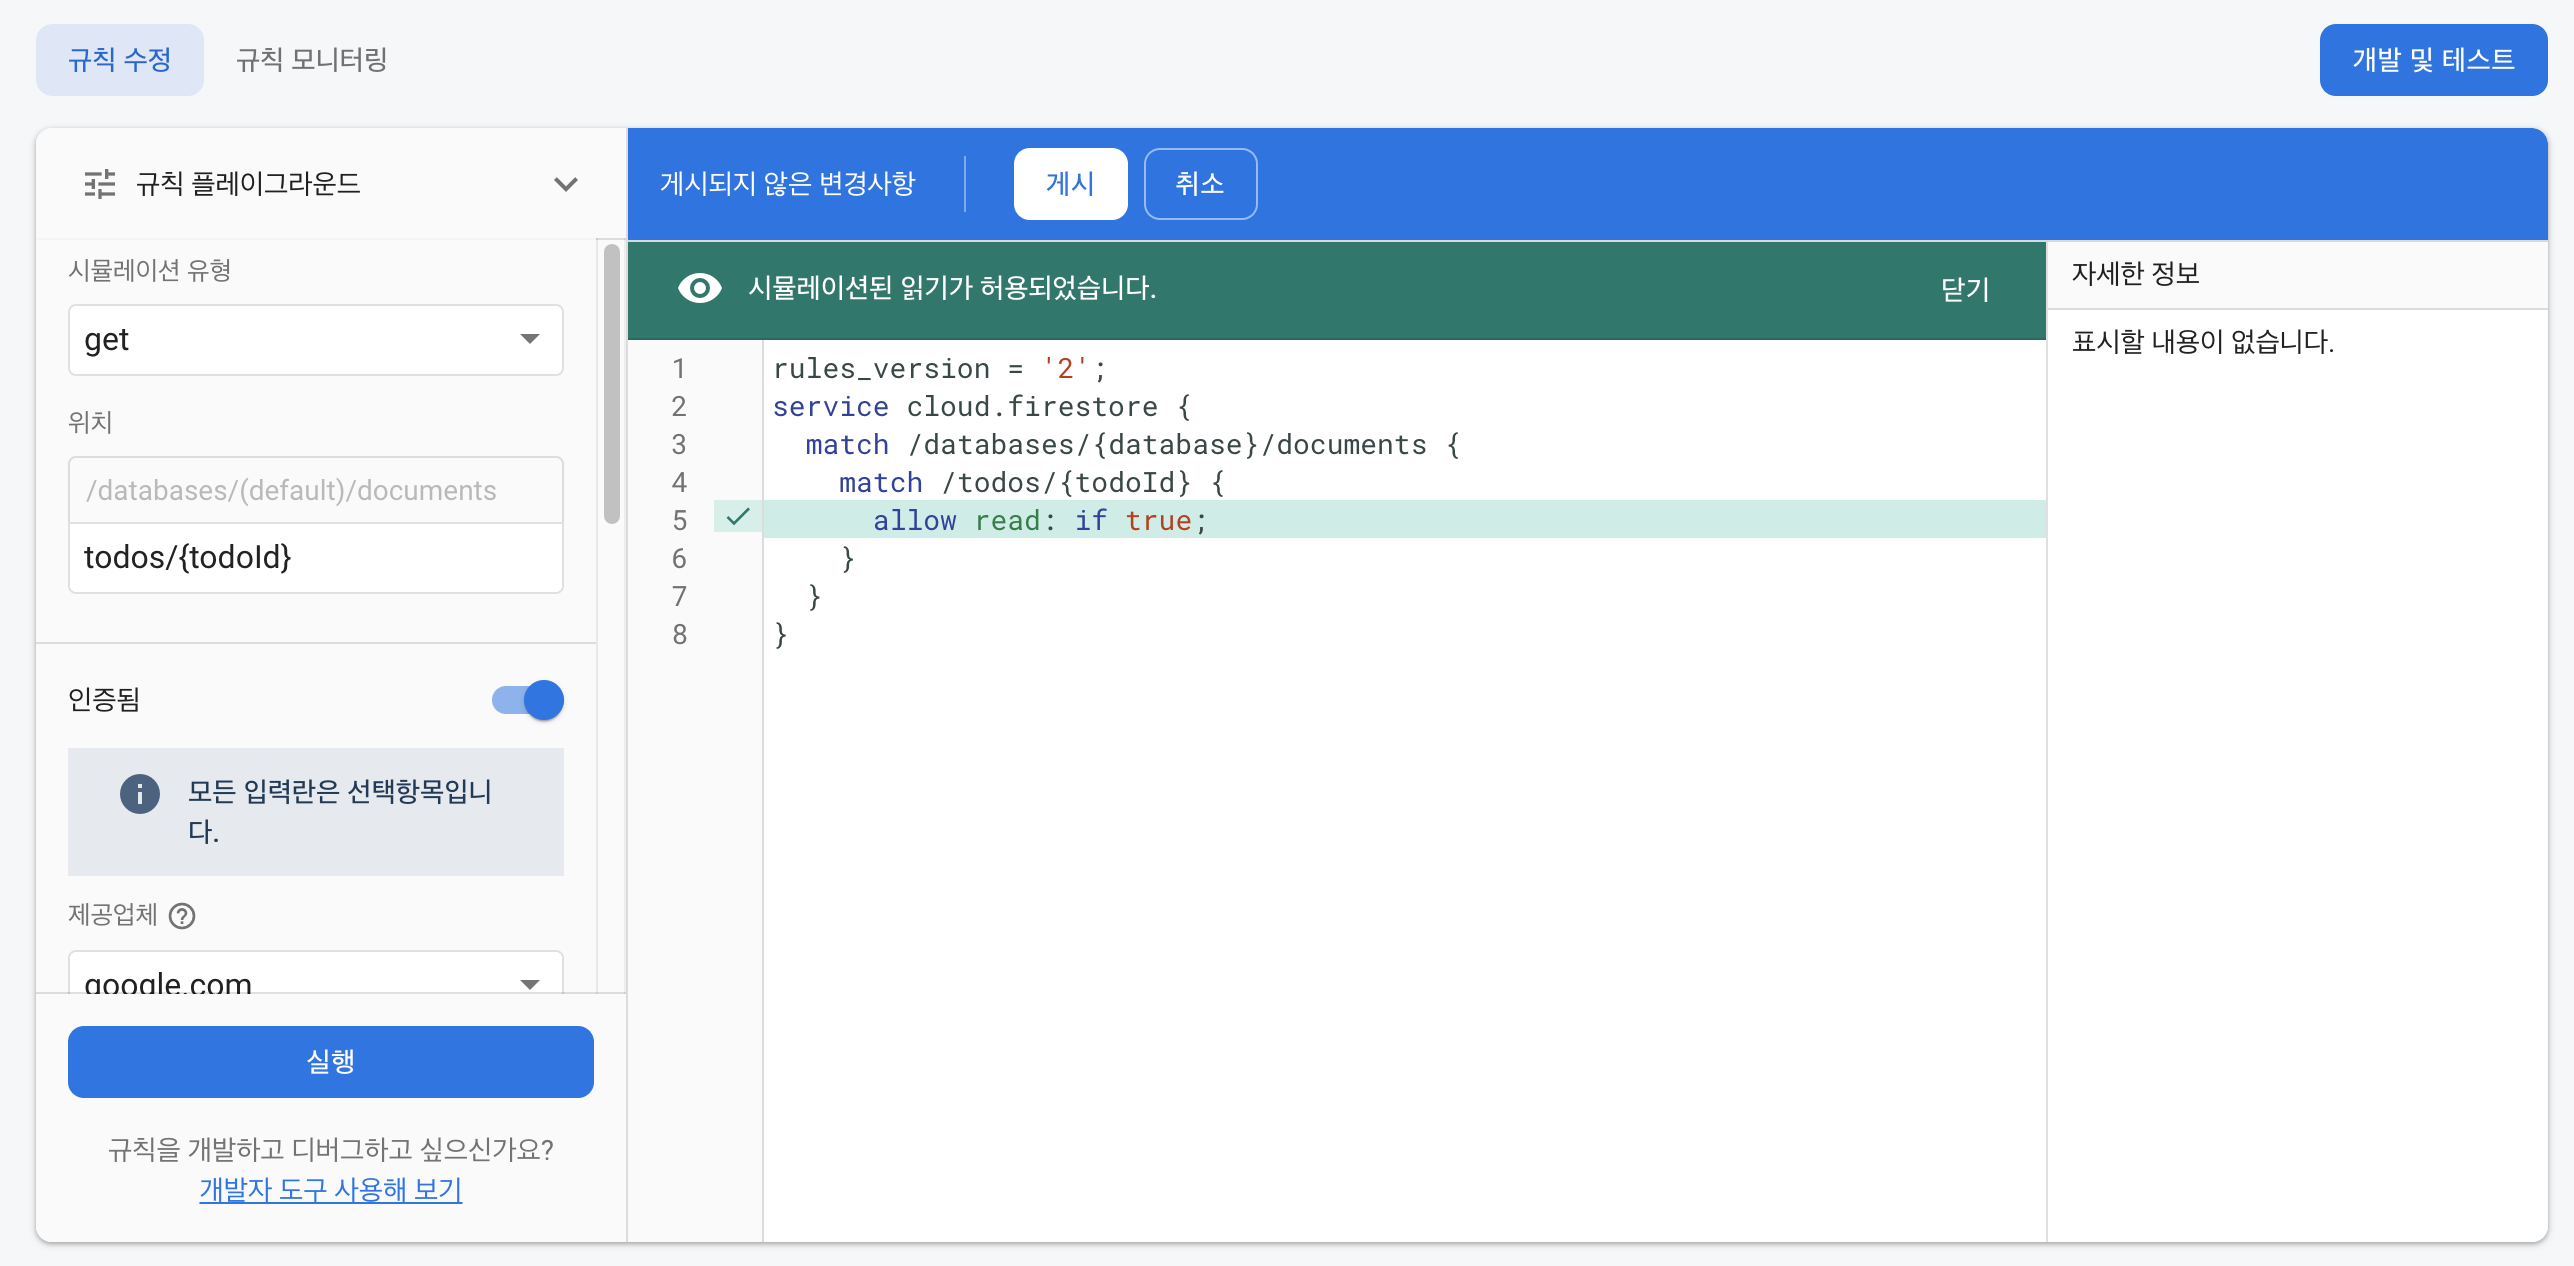
allow read, write: if false는 읽고 쓰는 권한을 모두 거부한다는 것이고, if false부분을 if true로 고치면 반대로 모든 권한이 허용된다는 것이다.
| 모든 권한 거부, if false | 모든 권한 수용, if true |
|---|---|
 |
 |
1. 조건부 권한 거부 및 허용
지금부터 조건부 권한 거부 및 허용에 대해 알아보겠다. 이를 위해 간단하게 조건을 생성해보자.
- 로그인과 관계없이 모든 유저는 노트를 읽을 수 있다.
- 로그인된 유저만 노트를 생성할 수 있다.
어떻게 하면 될까? 코드는 다음과 같다.
1
2
3
4
5
6
7
8
9
rules_version = '2';
service cloud.firestore {
  match /databases/{database}/documents {
    match /todos/{todoId} {
      allow read: if true;
      allow create: if request.auth != null;
    }
  }
}
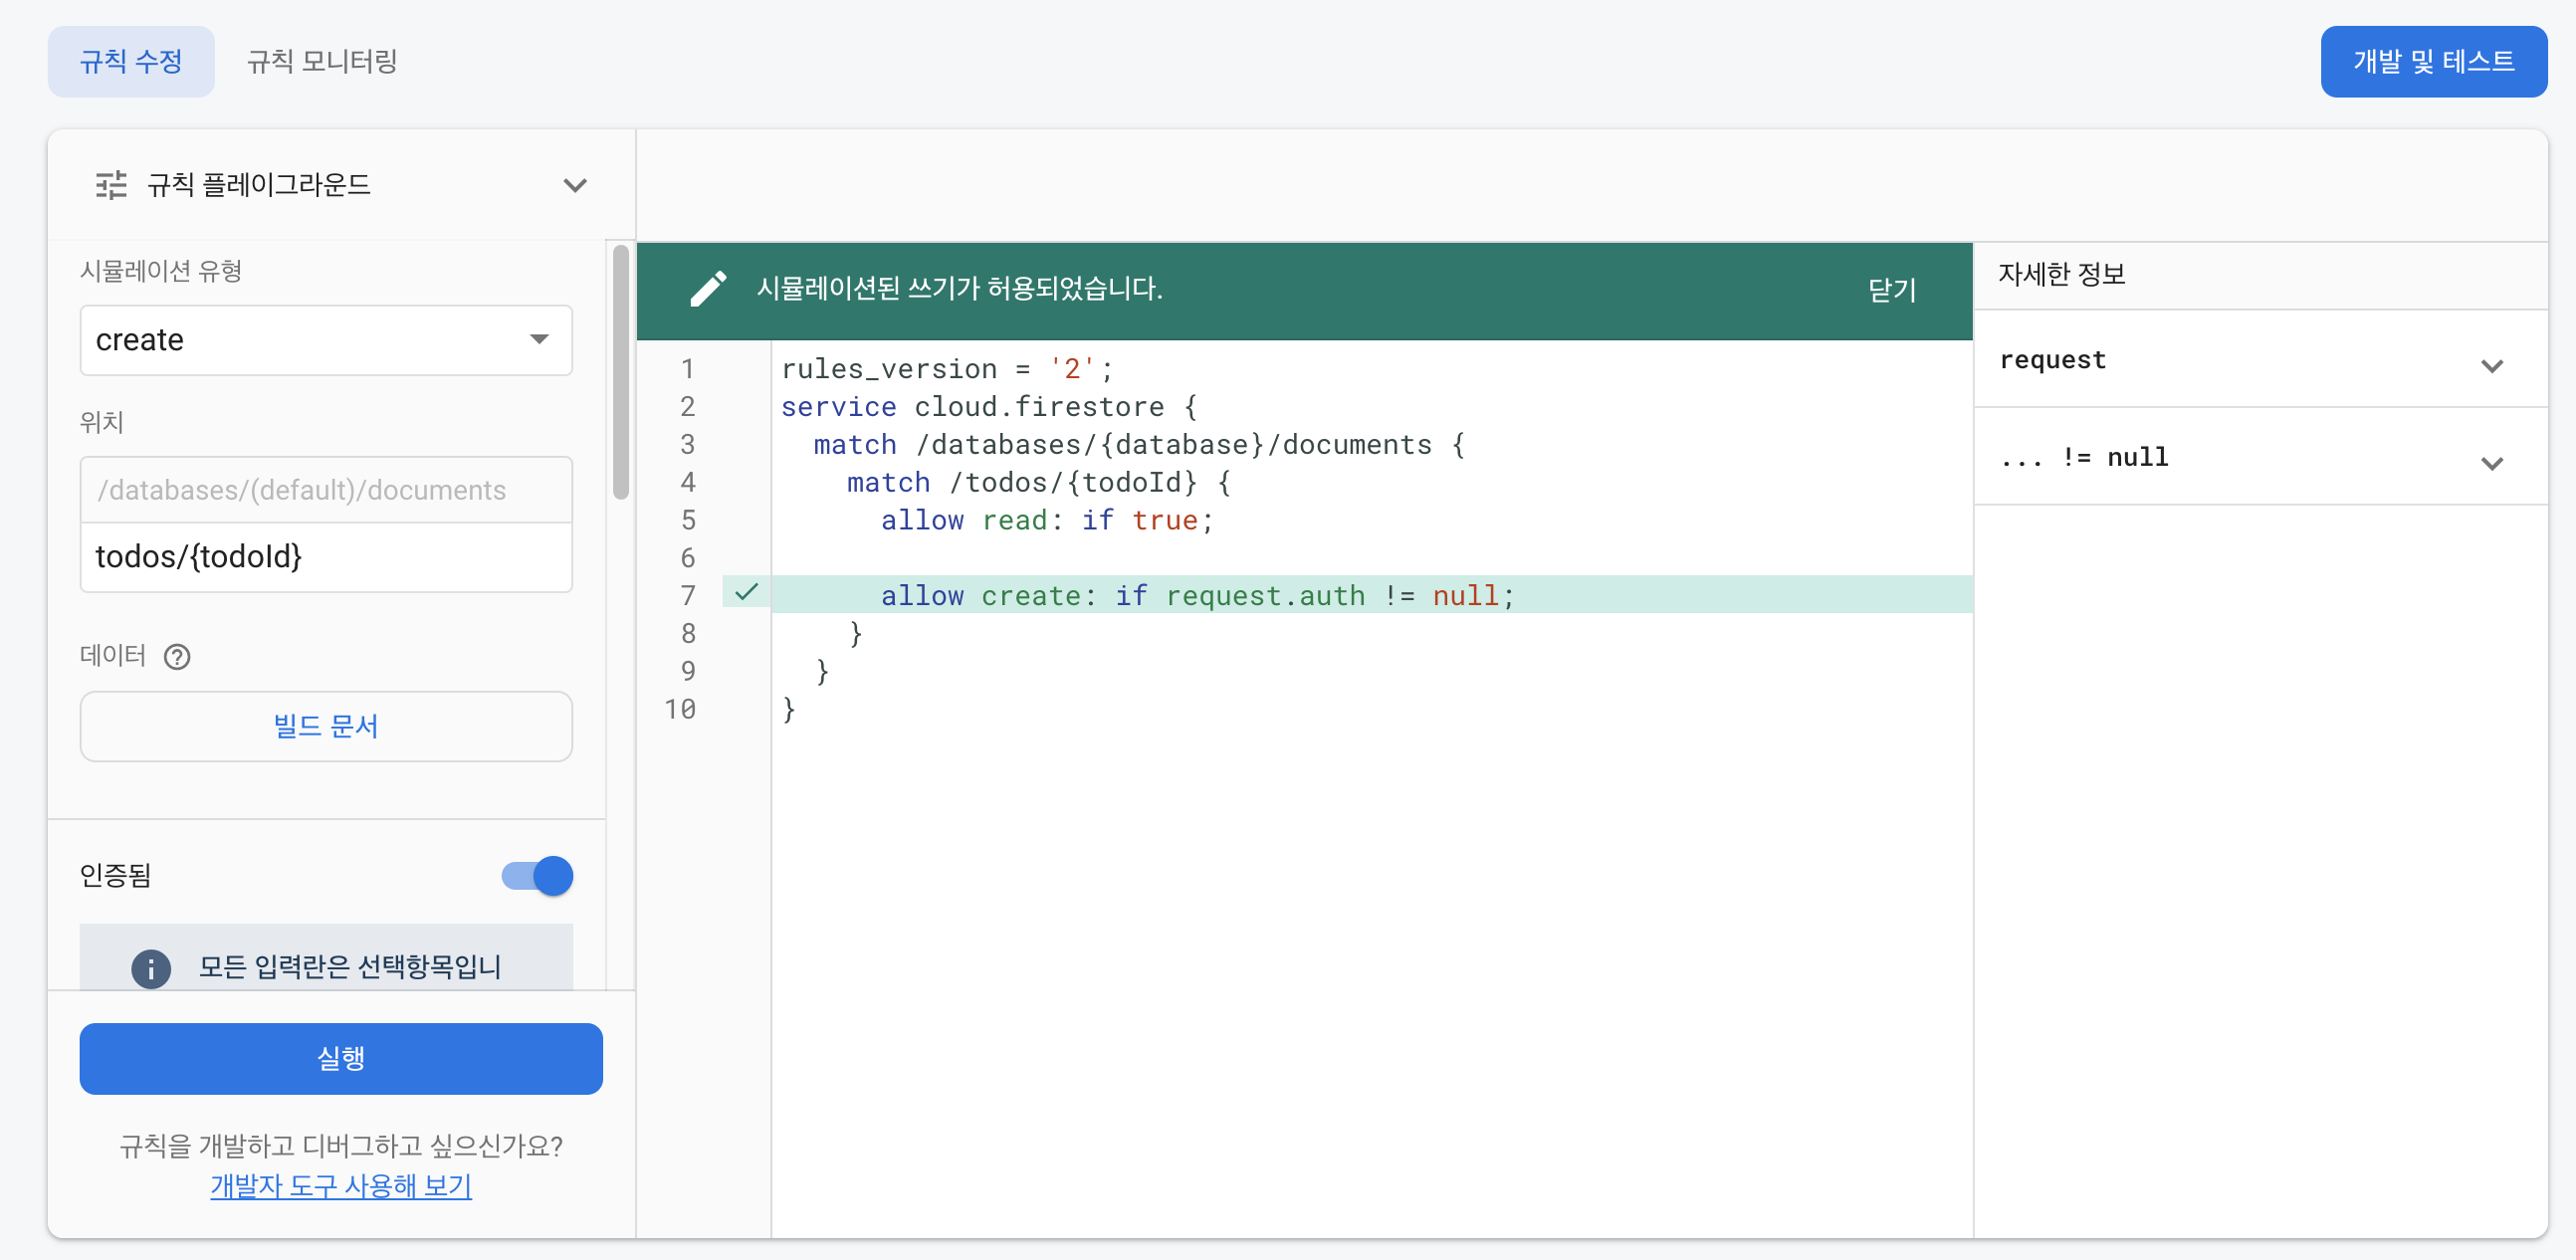
그럼 이제 위의 조건을 조금 더 복잡하게 만들어보자. 더 복잡하게 생성된 조건은 다음과 같다.
- 전과 마찬가지로 로그인과 관계없이 모든 유저는 노트를 읽을 수 있다.
- 로그인한 사용자 id와 todoOwnerId가 같으면 노트를 생성할 수 있다.
코드는 다음과 같다.
1
2
3
4
5
6
7
8
rules_version = '2';
service cloud.firestore {
  match /databases/{database}/documents {
    match /todos/{todoId} {
      allow read: if true; && request.auth.uid == request.resource.auth.todoOwnerId;
    }
  }
}
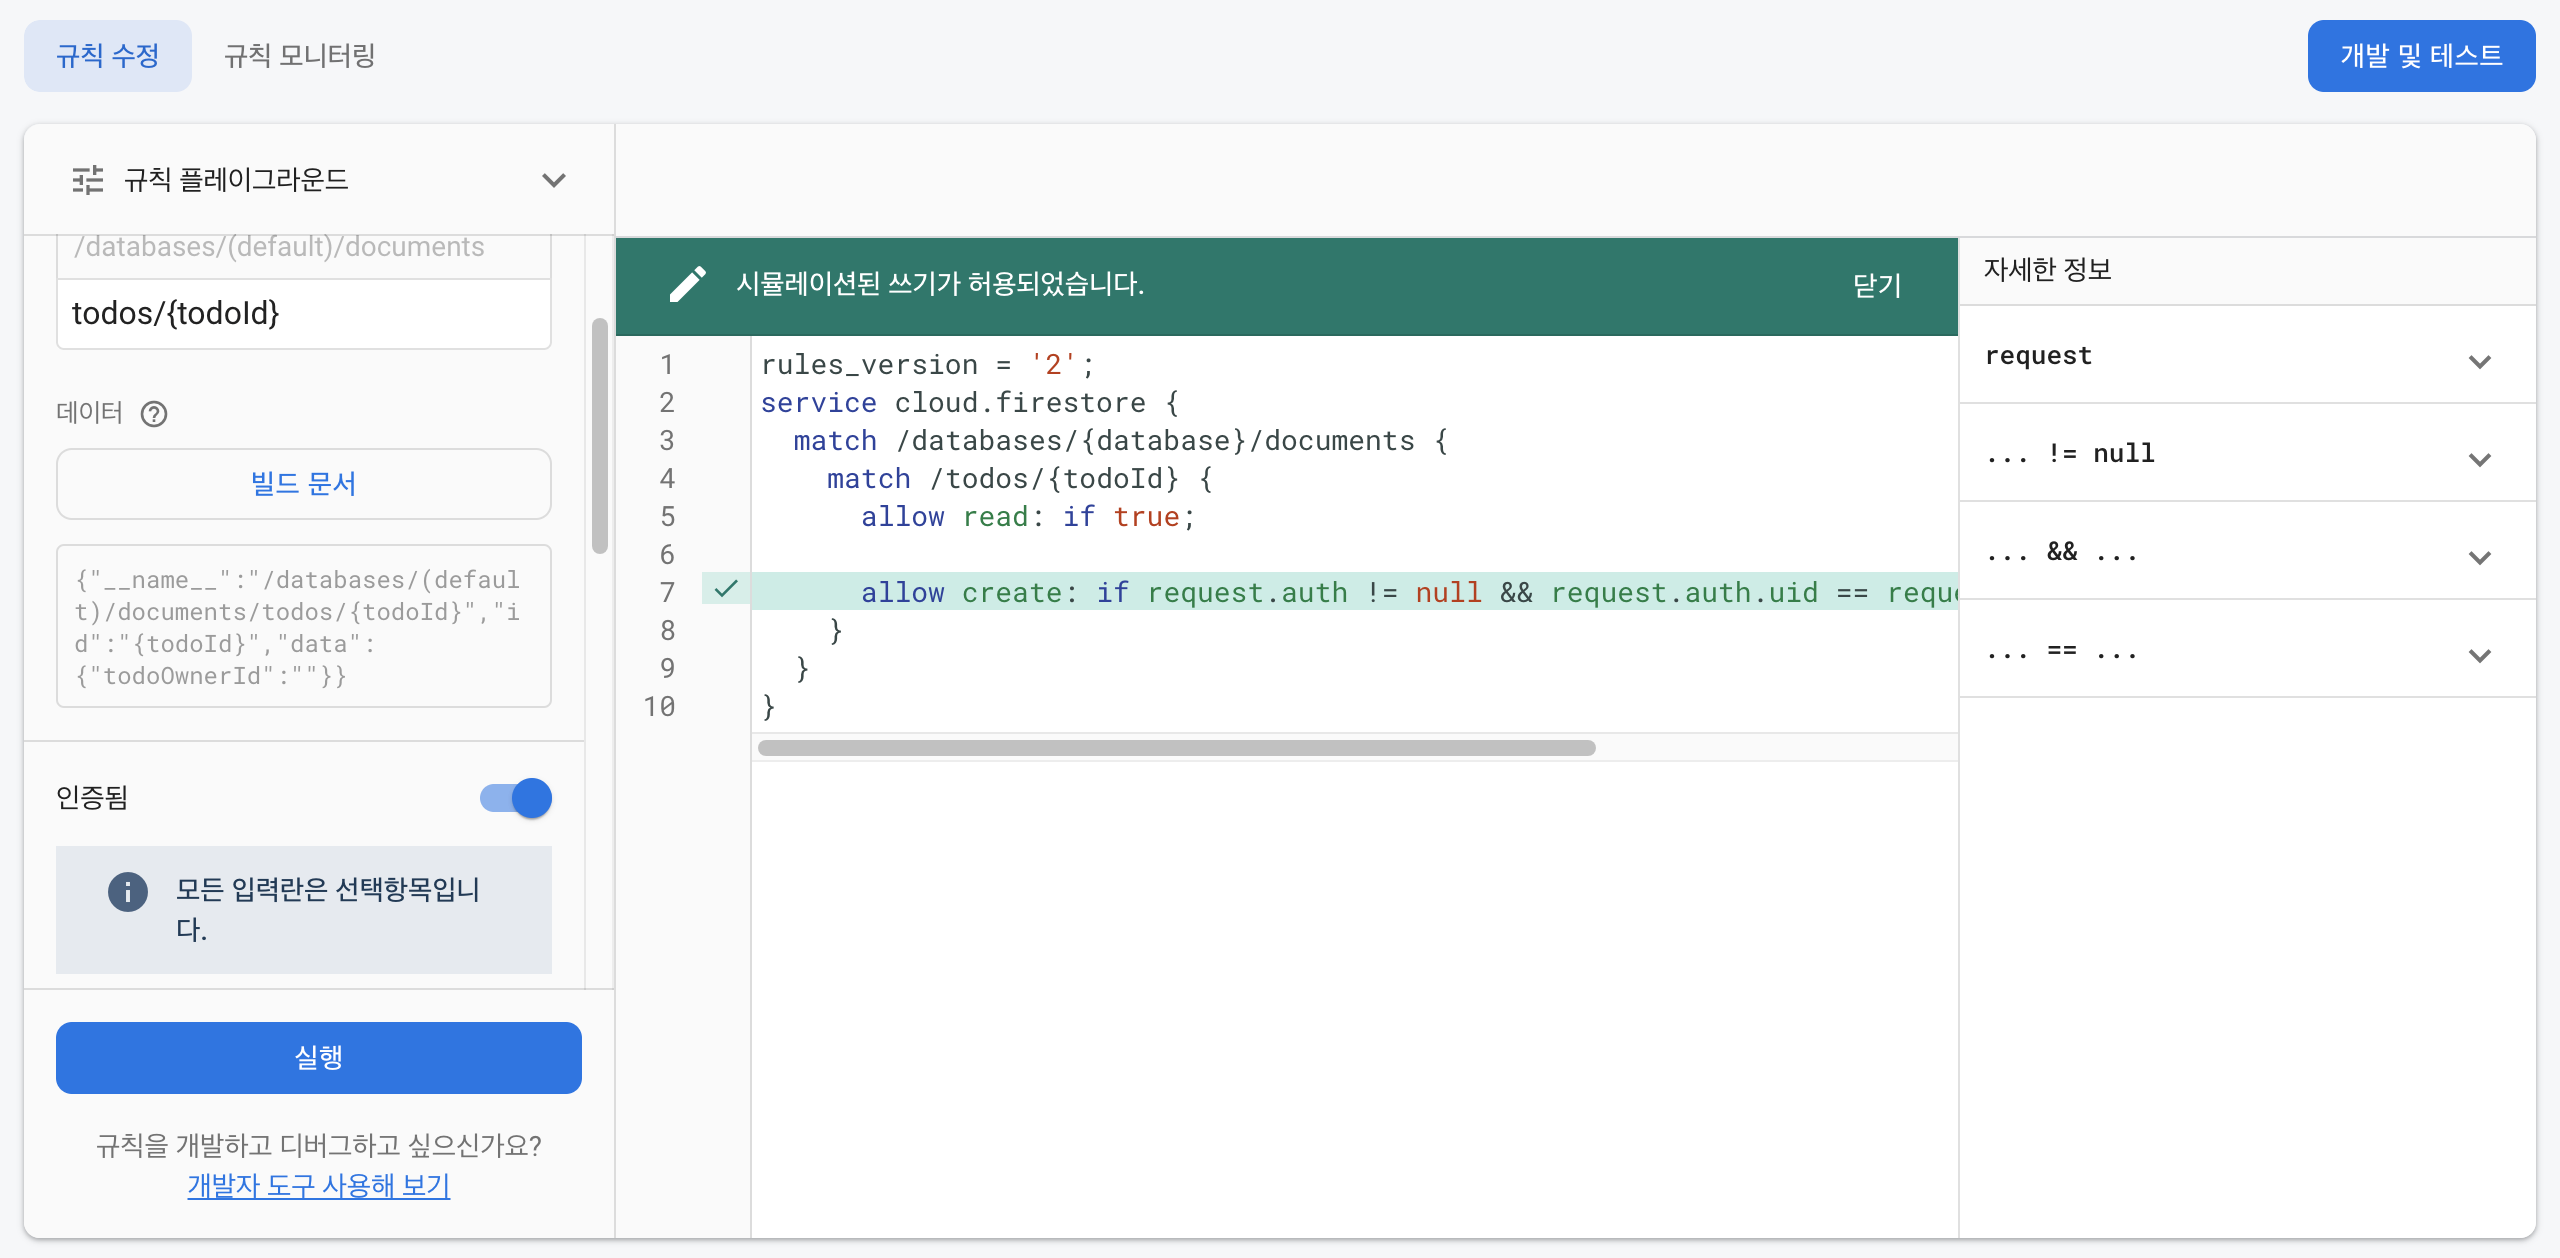
여기까지 보면 알겠지만 Firebase의 Security Rule은 굉장히 직관적으로 코드를 짤 수 있게끔 되어있다.
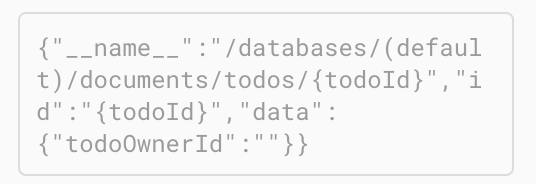
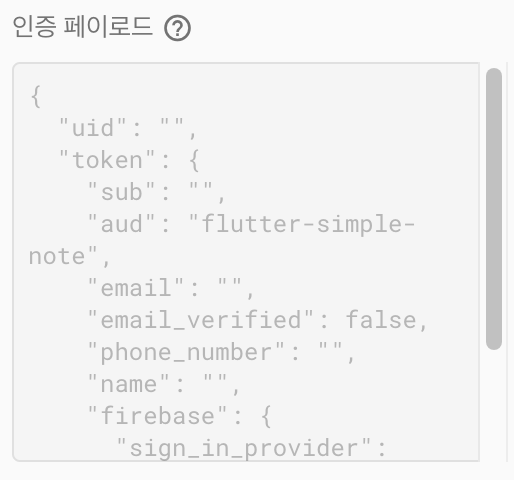
여기서 만약에 허용이 안된다면 빌드 문서 하단에 있는 todoOwnerId와 인증 페이로드에 uid가 서로 같은지 확인해 주면 된다.
| todoOwnerId | 인증 페이로드 |
|---|---|
 |
 |
이제 update 쿼리문을 생성해 보자. 상식적으로 update를 하기 위해서는 유저가 존재해야하고 또 글을 쓴 유저와 로그인한 유저의 Id값이 같아야 한다. 그리고 이는 위에서 만들었던 create와 같음을 알 수 있다. 따라서 쿼리문을 생성하면 다음과 같다.
1
2
3
4
5
6
7
8
9
rules_version = '2';
service cloud.firestore {
  match /databases/{database}/documents {
    match /todos/{todoId} {
      allow read: if true; && request.auth.uid == request.resource.auth.todoOwnerId;
      allow update: if true; && request.auth.uid == resource.auth.todoOwnerId;
    }
  }
}
위의 코드를 자세히 보면 read와 update의 코드의 맨 뒷부분이 미묘하게 다름을 알 수 있다. request.resource.data.todoOwnerId와 resource.data.todoOwnerId는 다르다. 후자의 값은 그냥 Null이 나온다. 그 이유는 firebase의 todos/{todoId}/resource라는 데이터베이스가 존재하지 않기 때문이다. 만약에 후자의 명령어로 실행하고 싶다면 uid를 정확하게 명시해주어야 한다.
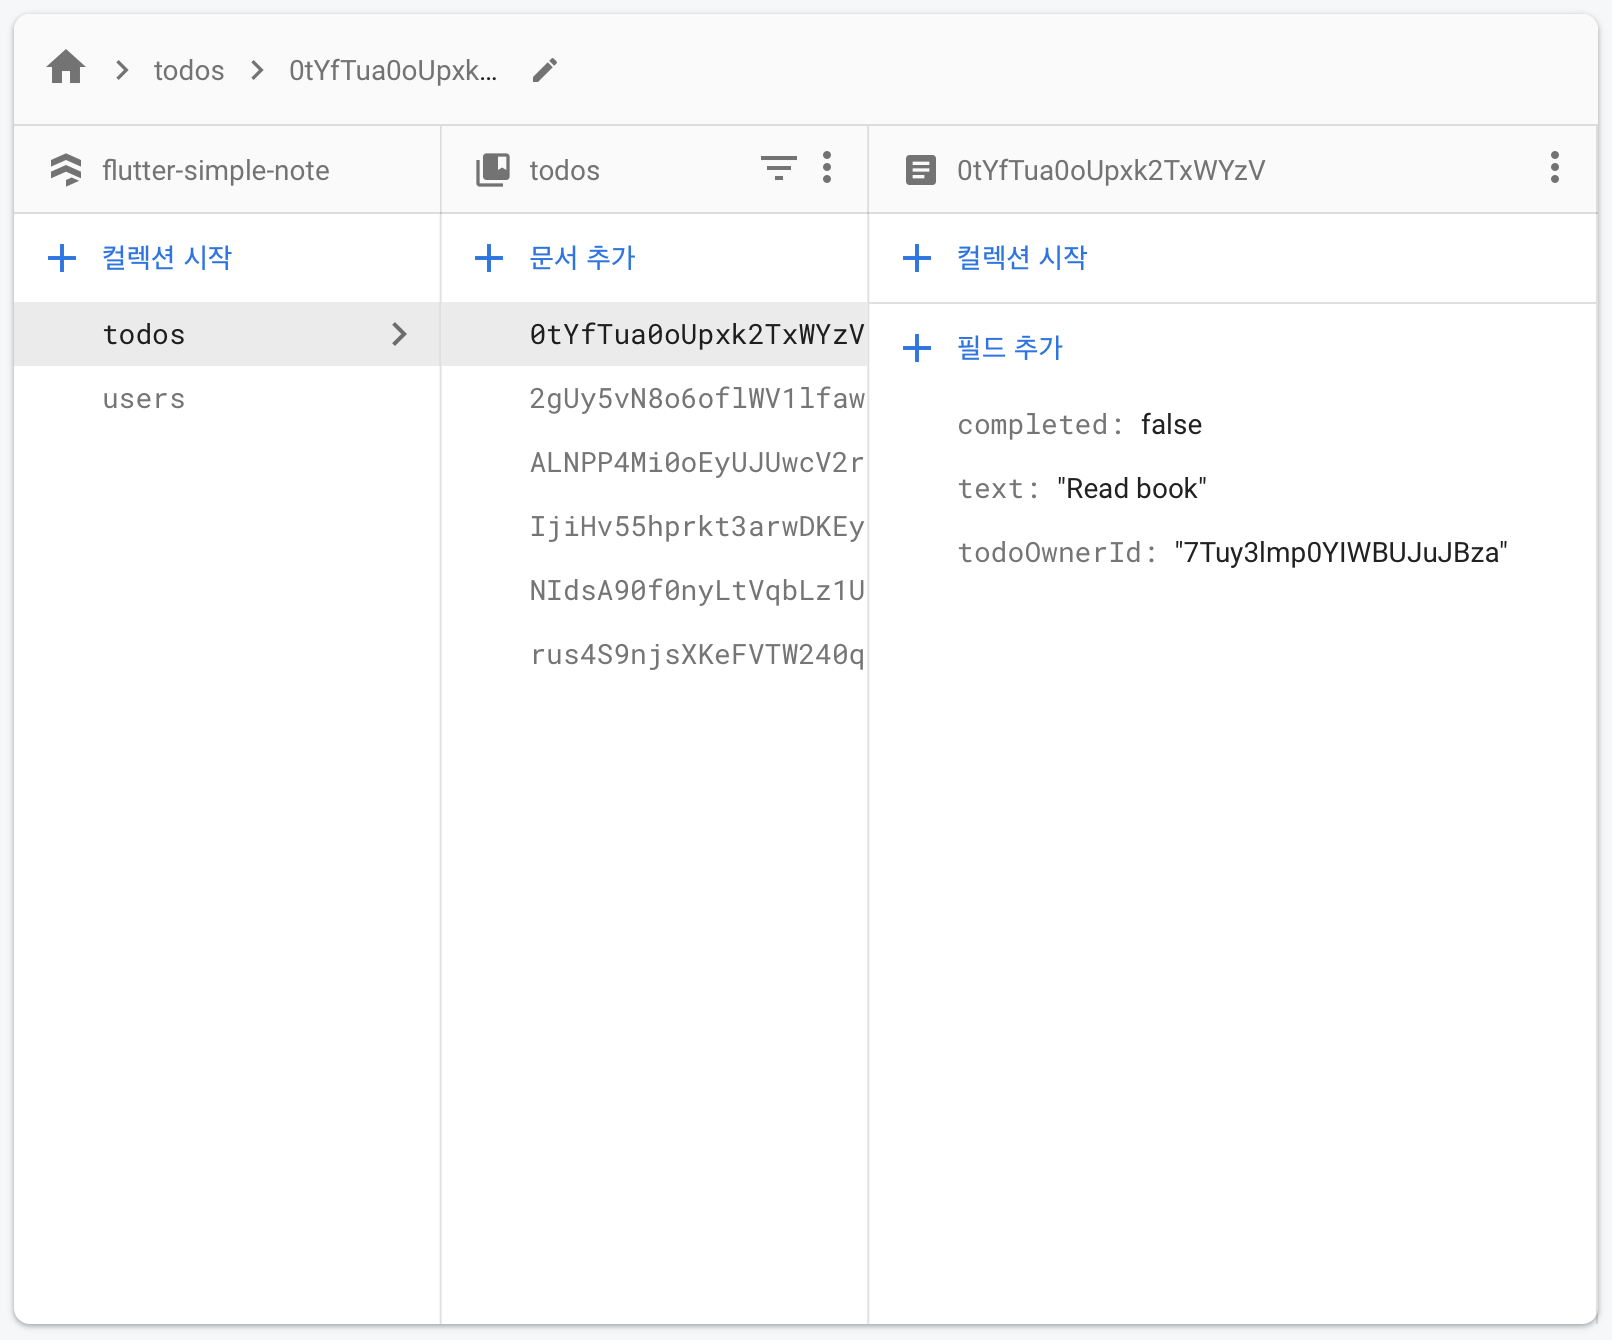
위의 데이터베이스를 보게되면 ‘0tYf~’라는 todoId에는 ‘7Tuy~’ todoOwnerId가 있다. 즉 위의 코드는 ‘7Tuy~’의 id를 가진 user만 해당 노트를 수정할 수 있게끔 해달라는 말이다. 이를 위한 단계는 다음과 같다.
- todos/{todoId} -> todos/0tYf~러 todoId에 구체적인 id값 넣어주기
- 문서 빌드를 통해 해당 todoId에 todoOwnerId 생성해주기
- firebaseUID와도 동일한 값을 넣어주기
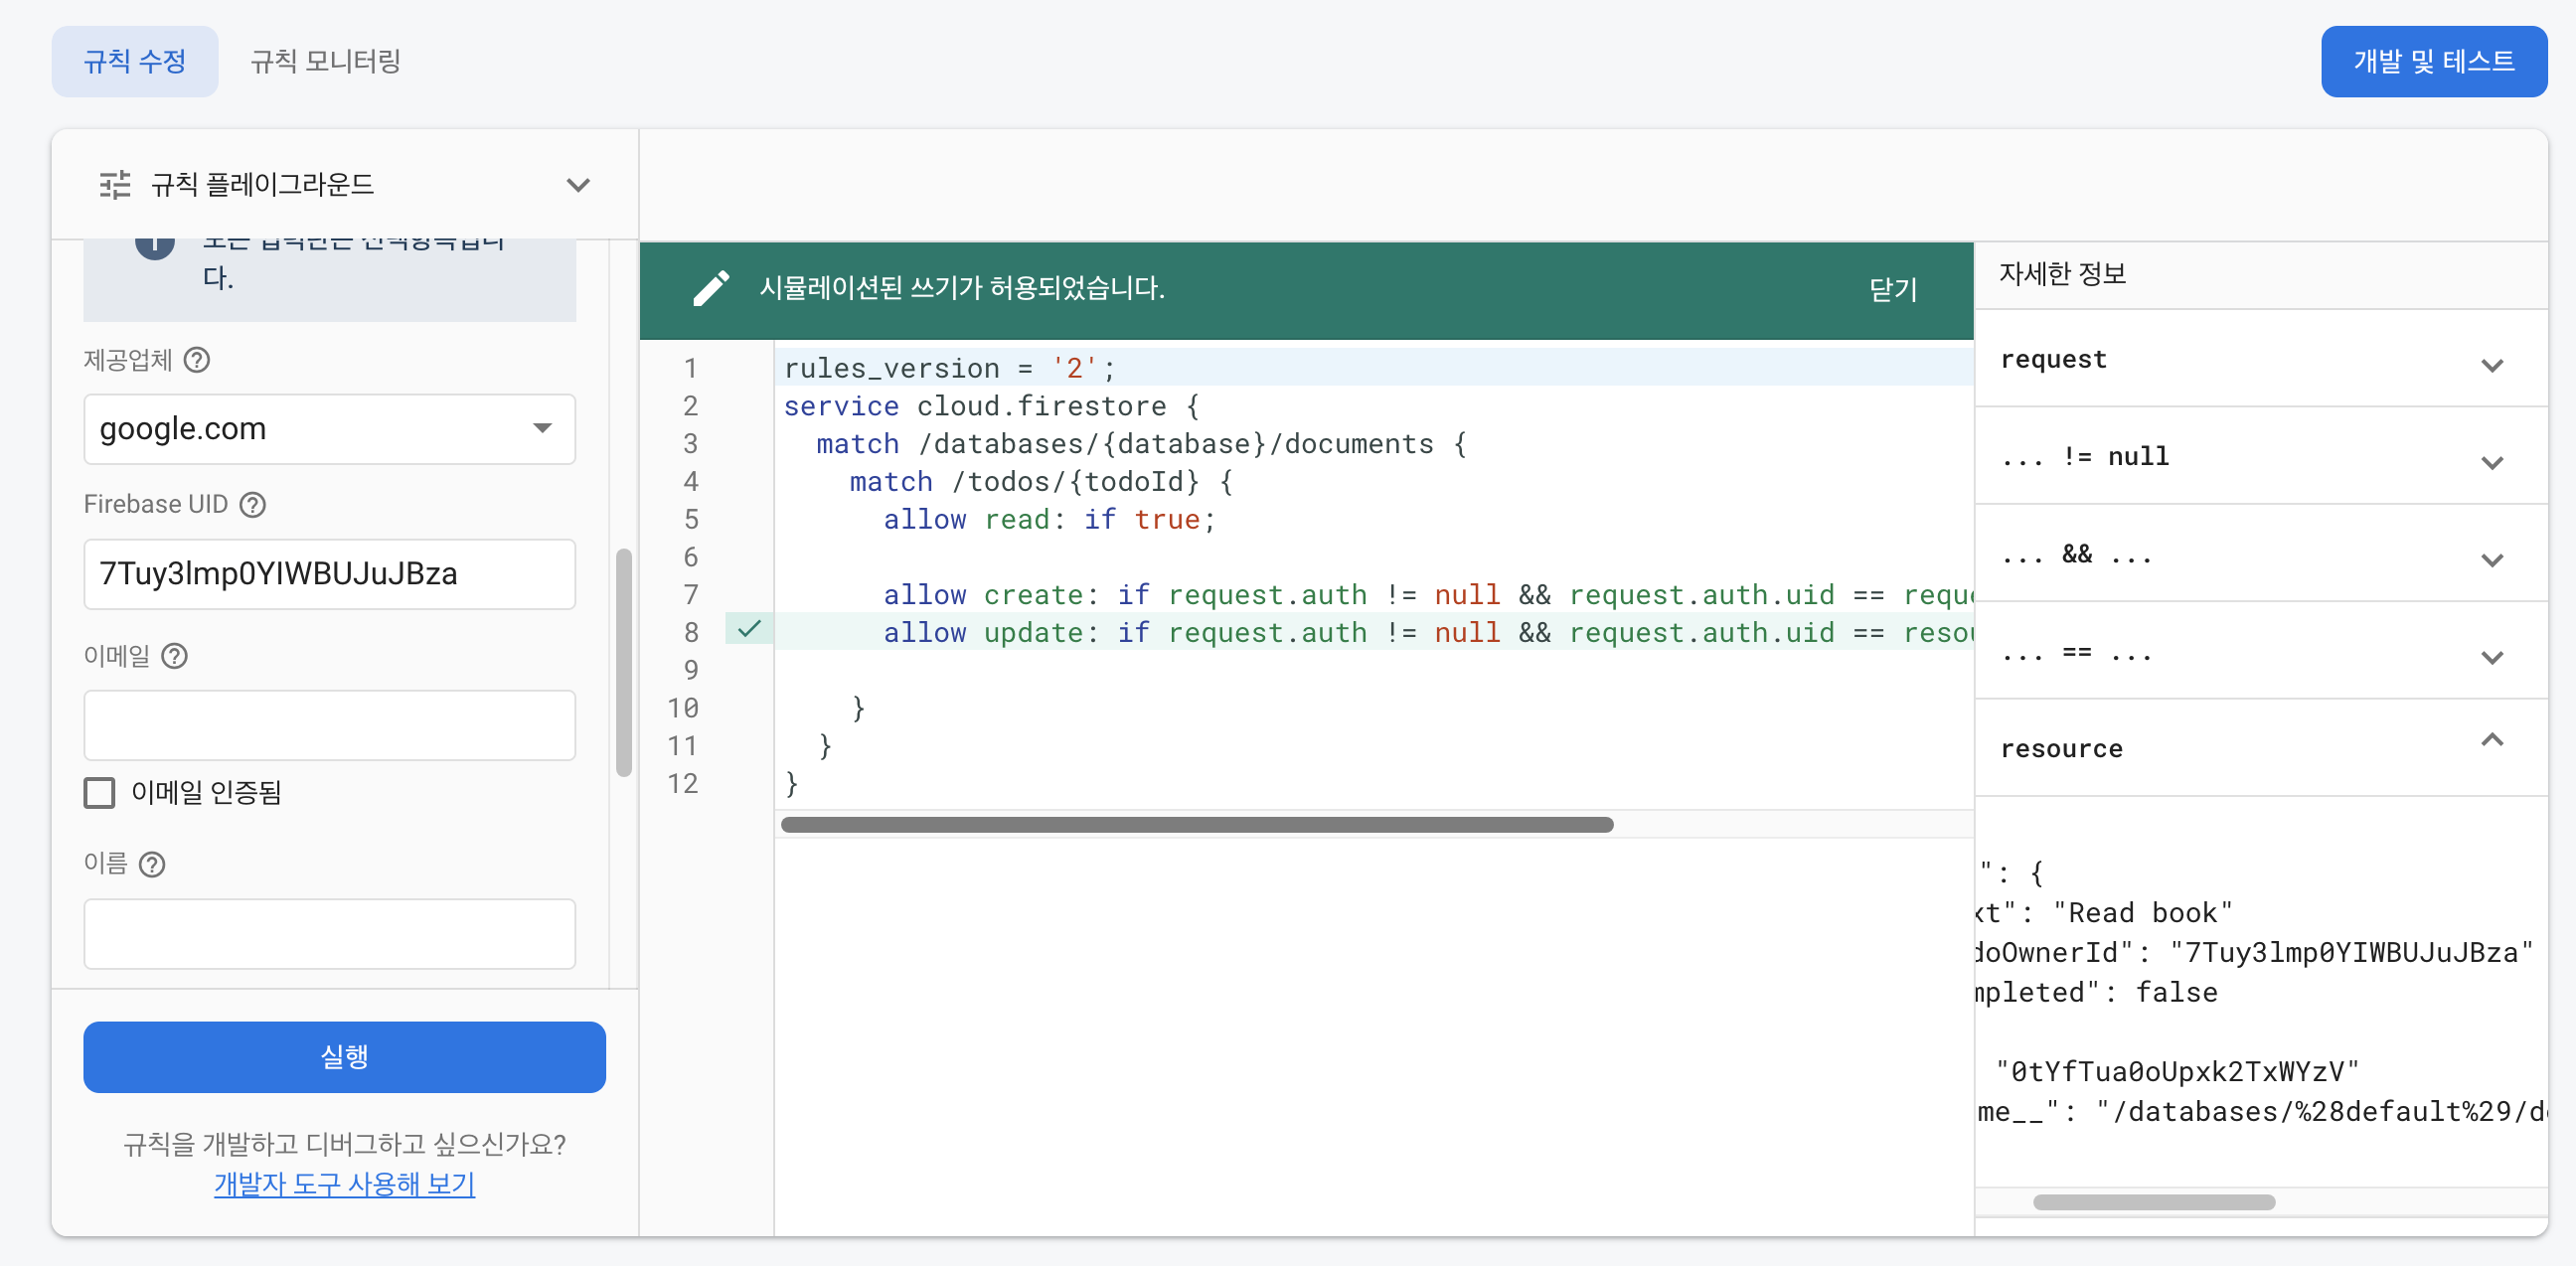
마지막으로 delete 로직을 생성해보자. delete 역시 update와 동일하다
1
2
3
4
5
6
7
8
9
10
11
12
13
14
rules_version = '2';
service cloud.firestore {
  match /databases/{database}/documents {
    match /todos/{todoId} {
      allow read: if true;
      allow create: if request.auth != null && request.auth.uid == request.resource.data.todoOwnerId;
      allow update: if request.auth != null && request.auth.uid == resource.data.todoOwnerId;
      allow delete: if request.auth != null && request.auth.uid == resource.data.todoOwnerId;

      // 여기서 update와 delete가 같기 때문에 다음과 같이 코드를 줄여준다.
      allow update, delete: if request.auth != null && request.auth.uid == resource.data.todoOwnerId;
    }
  }
}
최종적으로 중복되는 부분을 함수로 만들면 최종 코드 작성은 끝이다.
1
2
3
4
5
6
7
8
9
10
11
12
13
14
rules_version = '2';
service cloud.firestore {
  match /databases/{database}/documents {
    match /todos/{todoId} {
      allow read: if true;
      allow create: if isAuthenticated() && request.auth.uid == request.resource.data.todoOwnerId;
      allow update, delete: if isAuthenticated() && request.auth.uid == resource.data.todoOwnerId;

    }
  }
  function isAuthenticated() {
  	return request.auth != null;
  }
}
이제 Security Rule도 어느정도 알았으니 본격적으로 앱을 만들어보자